Overview
A product photo can be technically correct and still feel weak. Flat lighting, poor depth separation, and dull highlights make products look cheaper than they are. Full reshoots are expensive, so many teams need a faster way to upgrade existing assets.
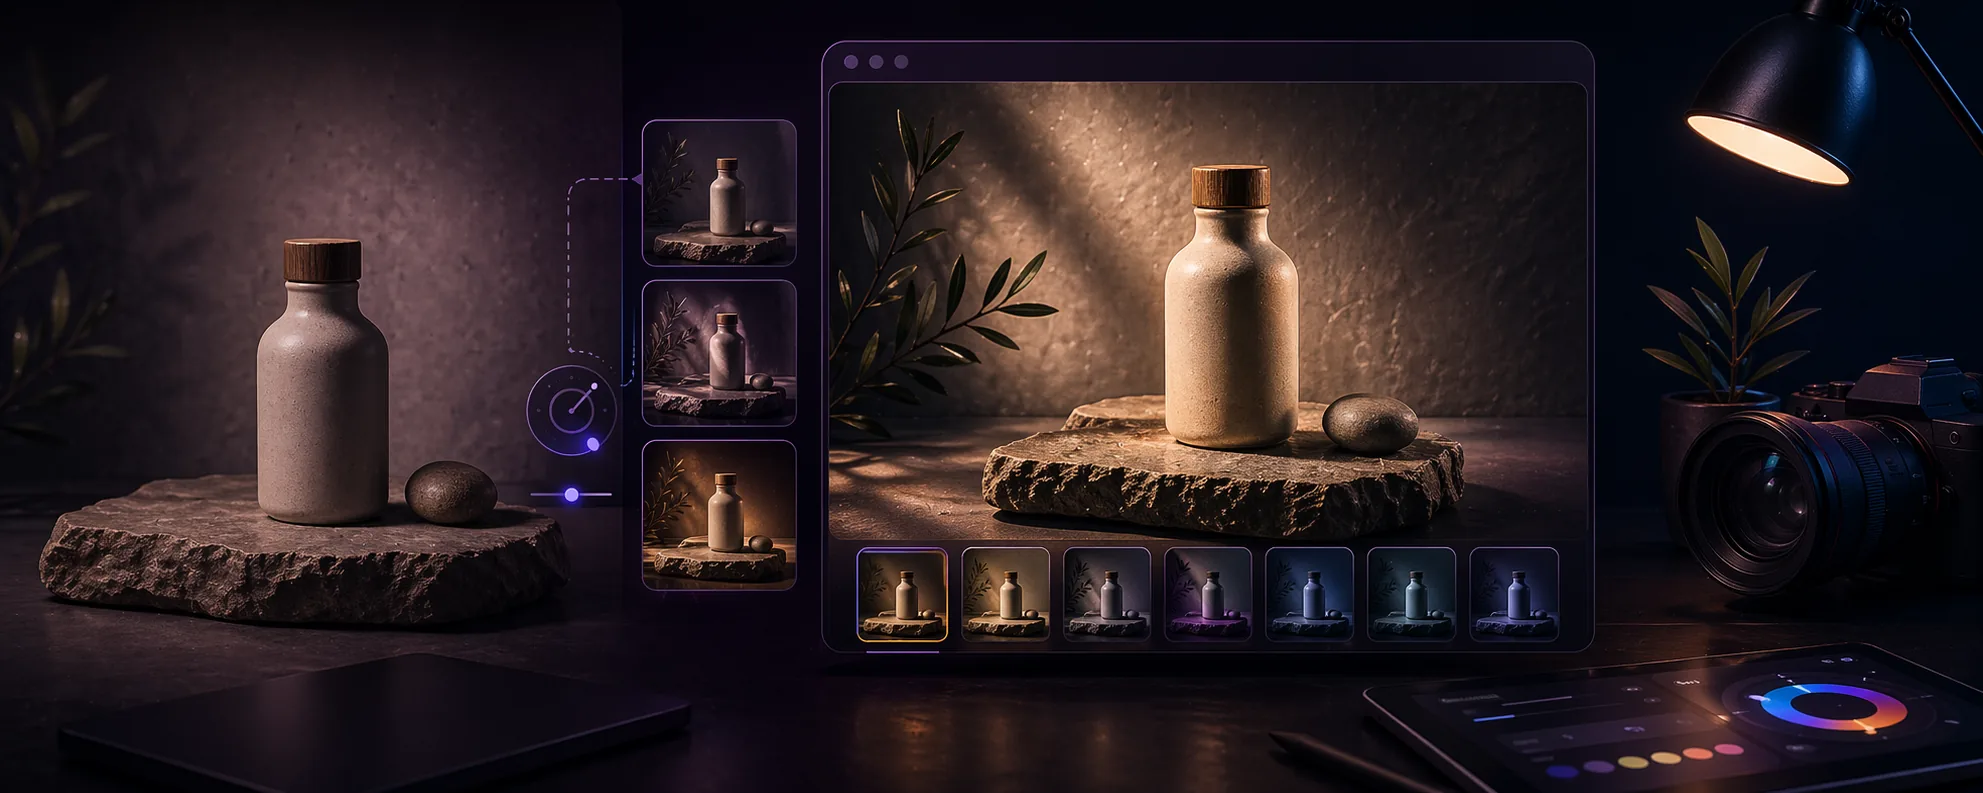
Browser-based relighting works best when the original image is already usable but lacks focus, contrast, or a stronger light direction. The goal is not to fake a completely different photo. The goal is to guide attention, add depth, and make the product feel more intentional.
Practical relighting notes
Relighting is most useful when the photo already communicates the product but lacks focus or depth. It should make the product easier to read, not turn the image into something that feels disconnected from the actual item.
A good relight usually has a clear direction and a restrained intensity. If every part of the image becomes dramatic, the customer may notice the edit before they notice the product. That is usually the wrong tradeoff for ecommerce.
The best review is side by side inside the real page layout. A light that looks impressive in isolation can become distracting when placed next to price, title, variant options, and surrounding product cards.
Relighting quality checks
- Make sure the edited image still represents the real product honestly.
- Check that material, color, and shape are easier to understand after editing.
- Avoid intense shadows that hide useful product details.
- Compare the export with neighboring product images for consistency.
Who this is for
- Store owners refreshing product pages without booking another shoot.
- Creators building cleaner product visuals for landing pages and campaigns.
- Teams that need a fast improvement pass on existing catalog images.
Step-by-step guidance
Step 1
Choose a photo that is already structurally sound
Relighting is not a rescue for a bad file. Start with an image that is in focus, exposed well enough, and composed clearly. If the product is blurry, clipped, or poorly framed, relighting will not solve the real problem.
Step 2
Use light direction to support the product shape
Place light where it helps reveal form, material, or edges. For cosmetics, packaging, ceramics, and lifestyle products, a subtle directional light can make the surface feel more dimensional. If every light is centered and equally strong, the image often stays flat.
Step 3
Build one hero light and one softer supporting light
Most product edits feel cleaner when one light creates the main emphasis and a second light softens darker areas. This keeps the image readable without making it look aggressively edited.
Step 4
Review the edit at realistic viewing sizes
A relit file may look impressive at full zoom but too heavy on a product grid. Check how it feels at thumbnail, card, and product-detail scale. Good relighting remains believable when the image is seen in context.
Step 5
Export only when the edit still respects the source
The best relit product images still feel grounded in the original capture. If the glow, color shift, or contrast treatment makes the product look misleading, the edit stops helping the business and starts creating credibility problems.
A restrained product-photo workflow
Start with the product photo that is already closest to usable. Add a soft light to lift the main face of the product, reduce the effect until it stops looking obvious, and export a test image before editing the rest of the set.
Then compare the result against the original and one competing product image on the same page. If the edited photo is clearer, more trustworthy, and still visually consistent, the setting is probably safe to reuse.
Comparison or example section
Light touch relighting usually works better because it makes the product easier to read. Heavy relighting can backfire if it creates a result the customer will not recognize in real life.
Think of relighting as emphasis, not disguise.
Mistakes to avoid
- Trying to fix blurry or poorly exposed images with extra lights.
- Adding too many strong light points and flattening the subject again.
- Pushing color or intensity so far that the product stops looking believable.
- Judging the result only at one zoom level instead of checking it inside real page layouts.
Learning hub
Use relighting to improve clarity, not just drama
Re-Light Studio works best when the source image is already decent and only needs better focus, depth, or polish.
Best for
- Product images that look flat or underlit.
- Campaign visuals that need a cleaner focal point.
- Teams improving existing images instead of reshooting everything.
How to use it well
Where browser relighting helps most: It is most effective on clean product photos, mockups, and controlled visuals where subtle light direction can improve readability and depth without changing the truth of the product.
What good relighting should look like: The result should feel cleaner and more premium, not obviously edited. Strong relighting guides the eye. Weak relighting leaves the image flat. Overdone relighting makes the product feel less believable.
Limitations you should respect: Relighting cannot repair blur, broken composition, or a badly exposed source file. It should improve an already usable image, not pretend a flawed source is production-ready.
How to review before-and-after honestly: Check whether the product is easier to understand, whether the material still looks believable, and whether the result still feels grounded in reality when viewed inside a real page layout.
FAQ
Can relighting replace a professional product shoot?
No, but it can improve existing files when the base image is already solid and only needs better depth or emphasis.
Is relighting useful for ecommerce product images?
Yes. It is especially useful when a product looks flat or under-defined and needs a more premium, readable presentation.
How strong should the effect be?
Usually softer than you first think. The best edits feel clean and intentional rather than dramatic for the sake of drama.